I bought two ErgoDox EZ keyboards and then spent more time & money to bring them to feature parity. Here’s why and how.
Background
In March 2018 I got my first Ergodox EZ and started to learn how to type on a split keyboard. In order to reach fluency faster I carried my ErgoDox EZ to work and back every day. This way I could type on it all the time.
To avoid carrying the keyboard with me every day I bought another one. However, I bought an Ergodox EZ Shine.
While the RGB underglow adds nothing useful to the keyboard I soon wished both keyboards supported this.
This lead me to build my own ErgoDox EZ underglow functionality. It’s available on github.
Part of the reason why I wanted to build this was because I was tinkering with electronics nearly 10 years ago and this seemed like the perfect ocasion to start again.
How
The schematic for the Ergodox EZ is available on github. This allowed me to take a look at how the RGB underglow is implemented. From the schematic you can see that the LEDs are SK6812. Also, the right half talks to the LEDs directly, while the left half receives its signal via I2C.
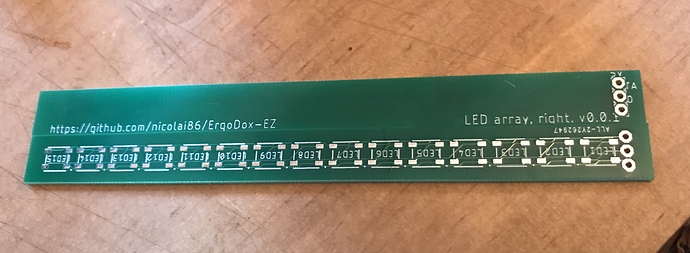
With that information in mind I started with the easy part: the right hands RGB strip.
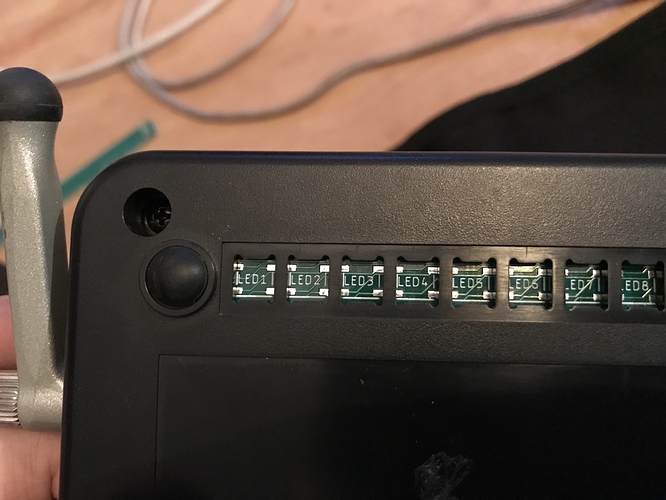
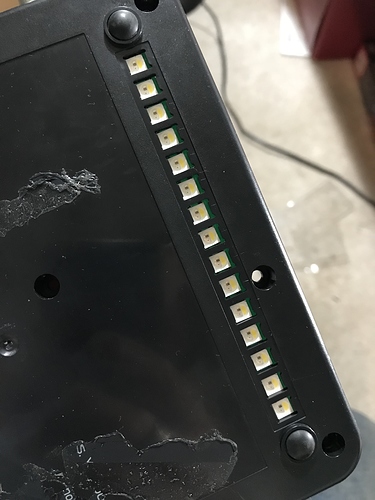
All that was required to make it work was to take proper measurements from inside the keyboard enclosing, and design a fitting PCB. This could be wired to the main PCB inside the case, and it worked out of the box:
Now this only worked for the right side. As the Ergodox EZ uses I2C between the sides the left side actually requires an MCU to decode the control signal for the SK6812s.
So a designed a 2nd PCB, which sports a Atmega168pu, which does the same as the small fpga which is used by the Ergodox EZ: listen on a specific I2C address and forward the received data 1:1 to the RGB leds.
Once I switched to SMD based components both PCB fit comfortably into the case of the Ergodox EZ.
If this is something you might be interested in head over to the github page and look at the details.
In any case this was super fun and a useful learning experience; I’m glad I picked up electronics as a hobby again after this long pause.